
Blog
True love for great sound unites us.
Blog
True love for great sound unites us.
Do you want to start recording your songs? Learn how to do it easily right here.
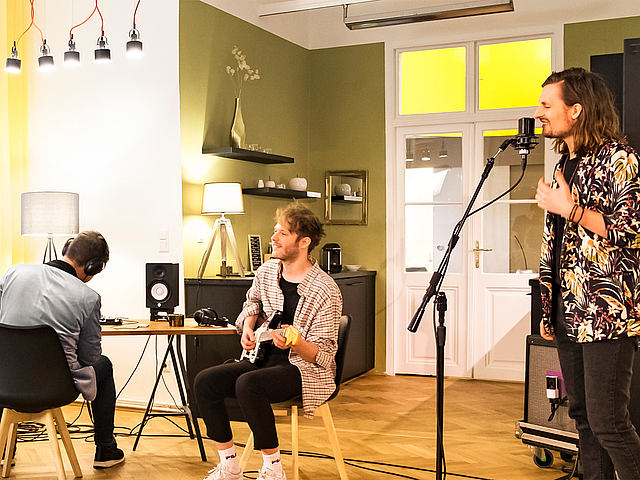
A recording always follows the same procedure:
1) Capture the signal
2) Convert it to data
3) Store and edit the data.
Let’s start with the most important tool you need, the microphone.
The microphone is the first and most important component in your signal flow. Take your time to make a choice and ask yourself, if you want to record mainly vocals, acoustic instruments, or both.
For your first recording, two types of microphones are worth considering:
You can find our recommendations for vocal microphones here.
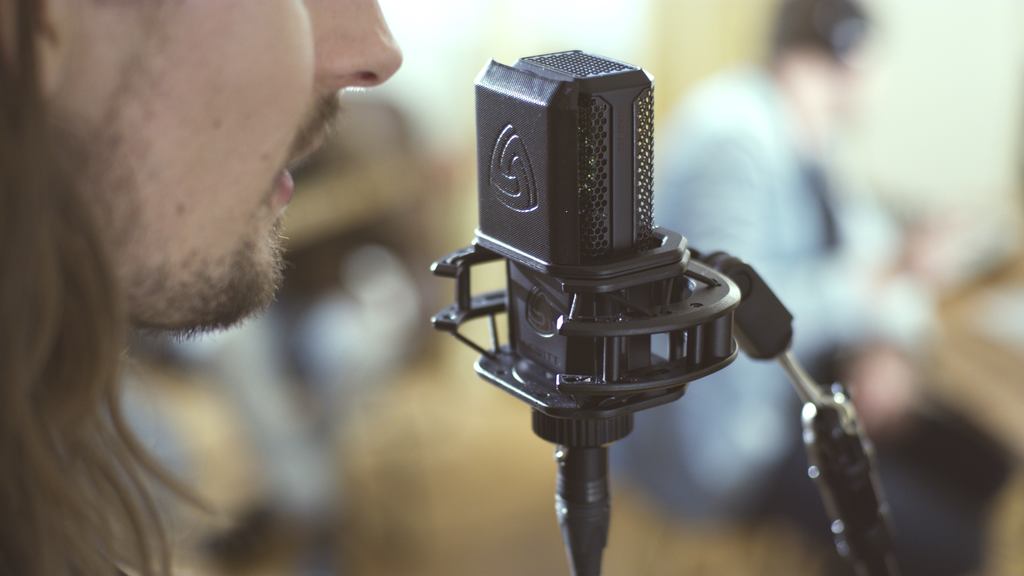
Condenser microphoness are more sensitive to sound than dynamic microphones and give you a more detailed sound. They are particularly good for:
If you want to use your microphone on stage, a dynamic microphone makes it easier to avoid unwanted feedback. They are great for:

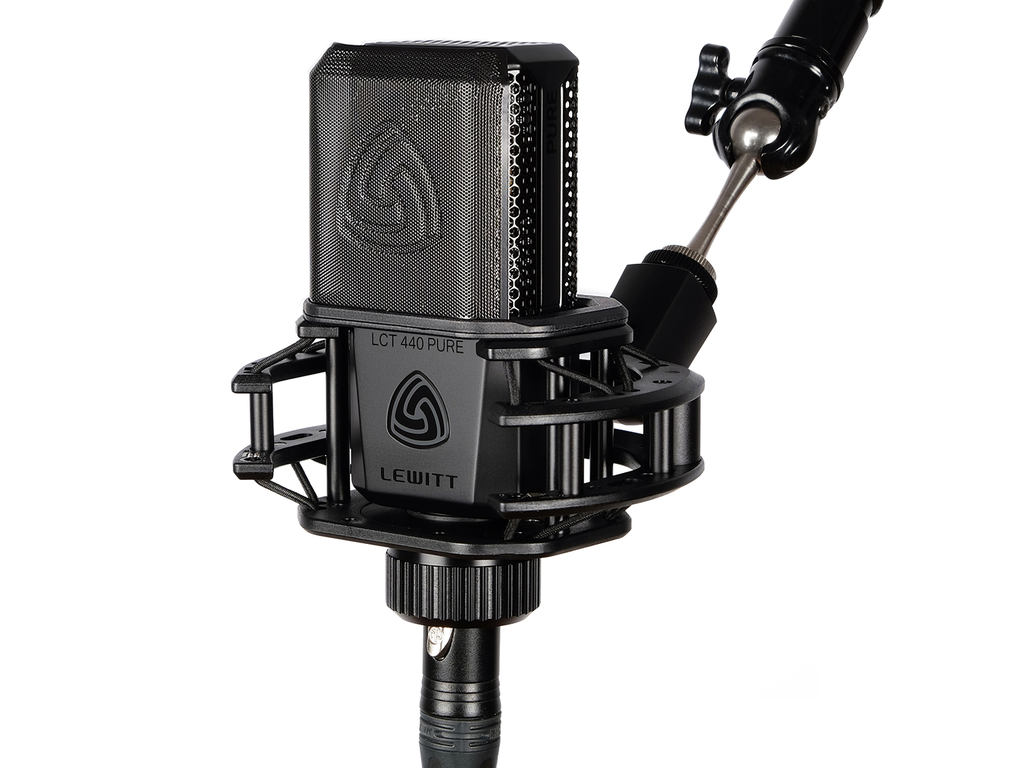
Start your producer career, with something like the LCT 240 PRO or LCT 440 PURE. These mics are easy-to-use, offer an unbeatable price-performance ratio, provide studio quality sound, and are made for vocals and instruments.
The LCT 440 PURE comes with a shock mount, a windscreen, and a magnetic pop filter.
Do you want to have a mic that you can also use for performing on stage? Then we recommend the dynamic handheld microphones MTP 250 DM or MTP 550 DM. Both of them are tailored for vocals.
To record your audio, you'll need a device that converts your microphone signal to digital data. And all you have to do is to find the right audio interface.
Good thing is, there's one main criteria you need to consider when you start: How many inputs do I need?
To learn more, check out the blog "What is an audio interface?"
You need to ask yourself how many channels you want to record simultaneously. Because for every single signal you want to record at the same time, you will need an input channel.
Not every input listed on the specification sheet can connect a microphone. Stick to the term “microphone preamp” or "analog input".
If you want to directly connect an instrument, such as an electric guitar or synth, you need an instrument input. Look for the terms ‘Hi-Z input’ or ‘instrument input.’
For your first audio interface, look for one with a mic preamp, an instrument input, and a headphone output. Most interfaces today have ports for both a microphone and an instrument.
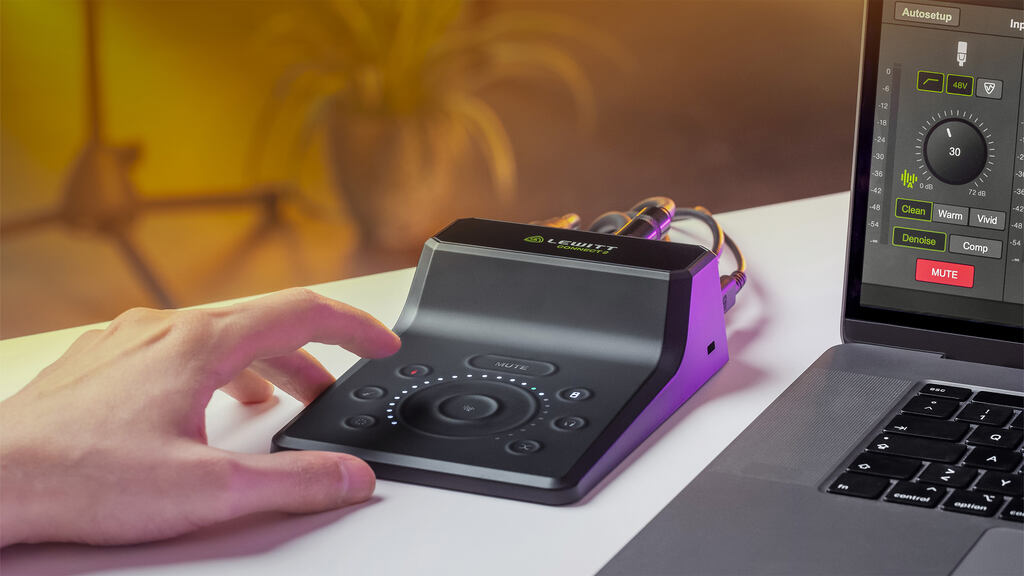
We recommend our CONNECT 2 audio interface, which makes it easy to get started with its user-friendly design and functionality.
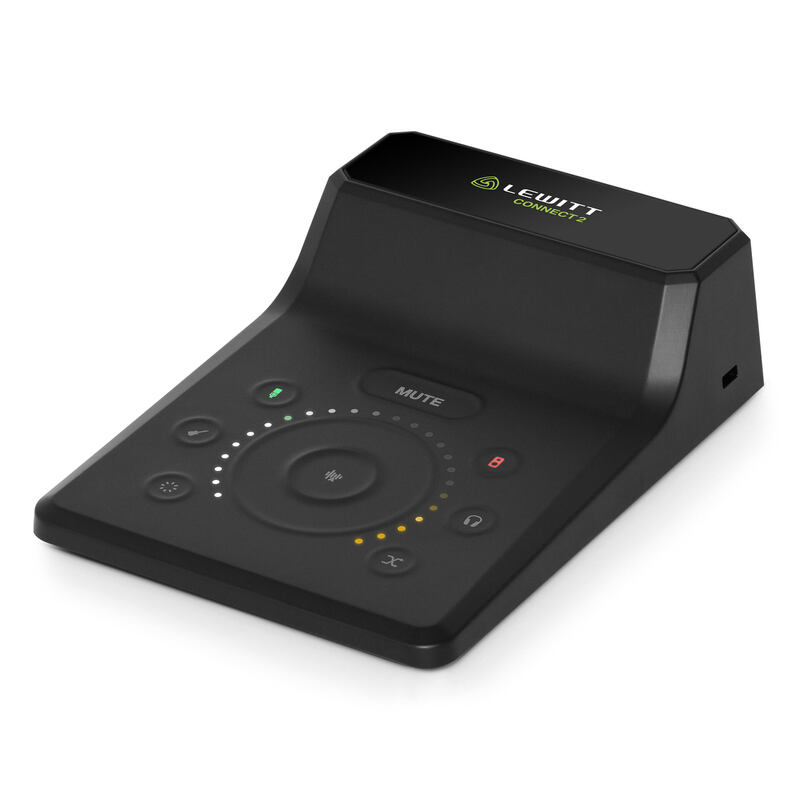
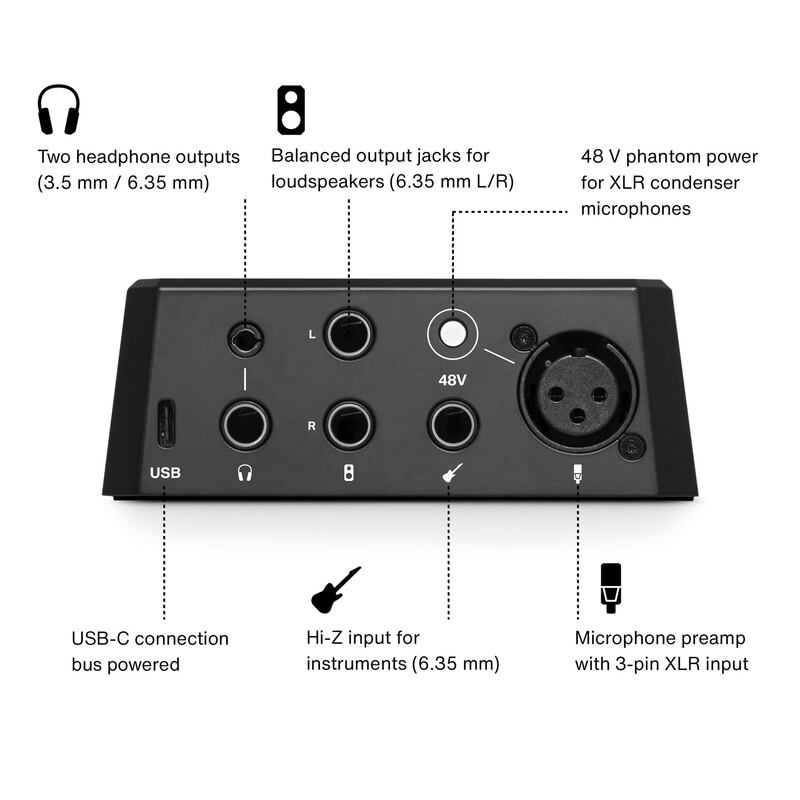
Note: The fact that you have only two inputs doesn't mean that you are limited to only two recorded tracks. It only means that you can only hook up and record two analog sources at the same time.
Essentially, the preamp is needed to match the sensitivity of the microphone to the level of your sound source to get the perfect image. The quieter a sound source is, the more gain the preamp needs.
The best way of connecting a microphone to the preamps of your audio interface is a 3-pin XLR-connection. It's not only the most reliable but also the easiest way.
By the way, CONNECT 2 has Autosetup that sets the right levels for you. You can find more information on the CONNECT 2 product page.
The gain of the preamp can be set either by a knob physically on the interface or via an associated software. The right amount of the gain is almost always shown via a “level meter”.
For a satisfying result, try to keep the level in the green area by adjusting the gain during checking (playing, singing, etc.) your sound-source.
Avoid the red area, often called “clip” or “peak” – this will add unwanted distortion to your recording which will lead to a bad outcome.
As long as you don't have to handle a full professional recording studio, even a laptop can be enough to start recording. The type and brand of your computer are not important.
Nevertheless, here are the absolute minimum requirements your computer should have to run proper audio-recording software are:
Those requirements are just enough for starting and developing your experience. But of course, more is better.
For recording, editing and mixing, you need a software called Digital Audio Workstation or DAW.
DAWs can be found from basic to professional, from free of charge to high price, but all offer mostly the same basic features.
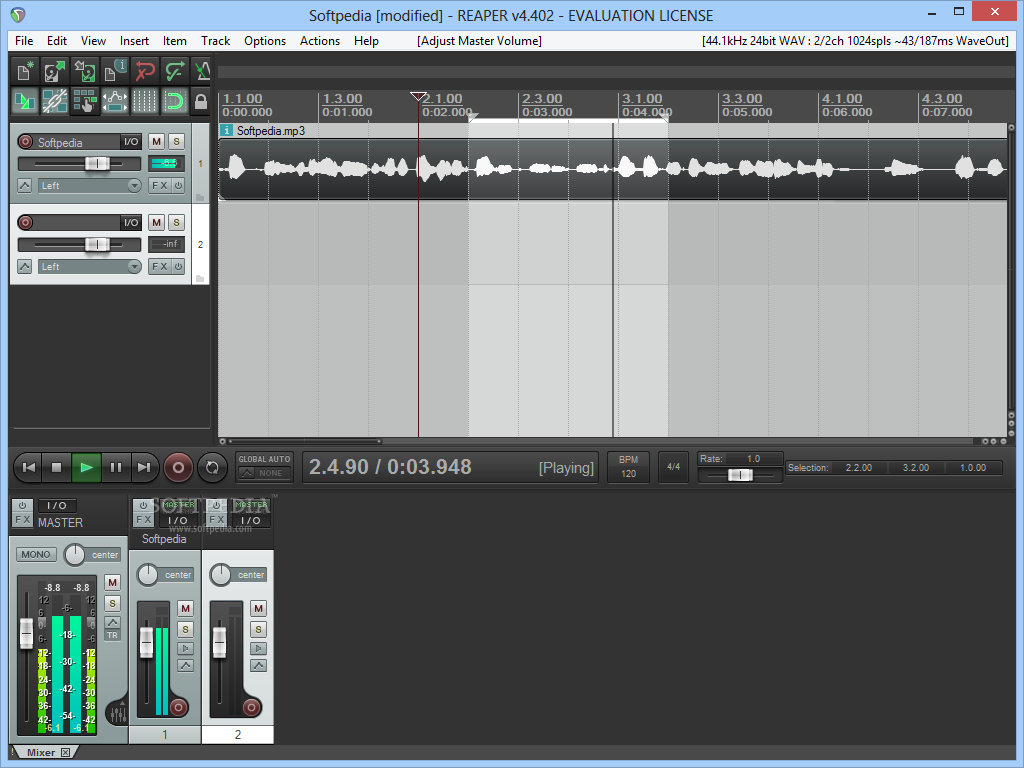
For a start, we would recommend going with a free version. Concerning the task of recording there is no significant difference between all DAWs except the look.
Here is a list of DAWs you could try:
What to get:
You will need at least one 3-pin XLR cable for each microphone you want to connect. Most microphones do not include any cables, you will have to find and buy this separately.
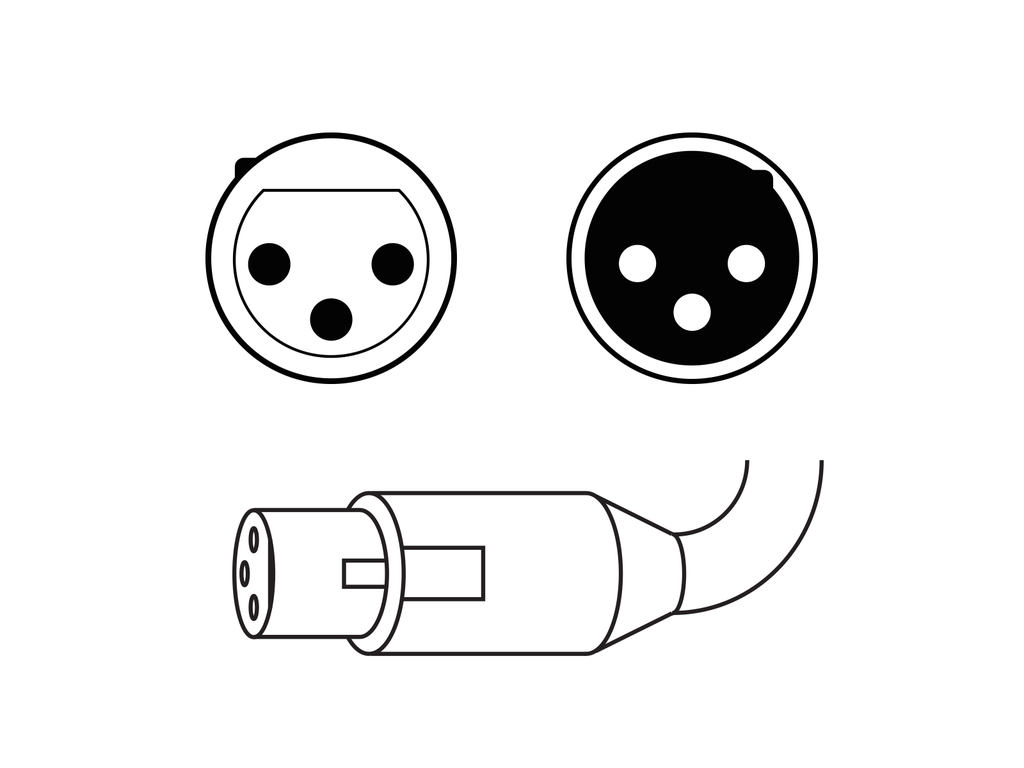
Unexpectedly you will find a huge price range for a simple cable like this - and we can say, yes, there is a difference, but honestly, it is not important at the beginning.
Just don't go with the cheapest as these can break easily and avoid plastic-connectors. We recommend to get two 5m cables.
A pop filter is great if you want to record vocals. It helps you to keep your recording clean as it will effectively reduce pop and hiss sounds.
To hear what you are recording, you will need headphones.
If you want to invest in a nice pair, we'd recommend looking for closed headphones first, meaning that you are isolated from outside sound and hear better what you are recording.
Don't use speakers while recording, to avoid the output of the speaker in your recorded track. Studio speakers are useful for controlling your mix and for the mixdown, but we do not recommend recording with them.
However, here are some things that will lift your spirits:
Do not hesitate to ask us via our social media channels or email. We will be glad to help you anytime and connect you with a caring community of audio enthusiasts talking about their recording experiences.