Blog
True love for great sound unites us.
Blog
True love for great sound unites us.
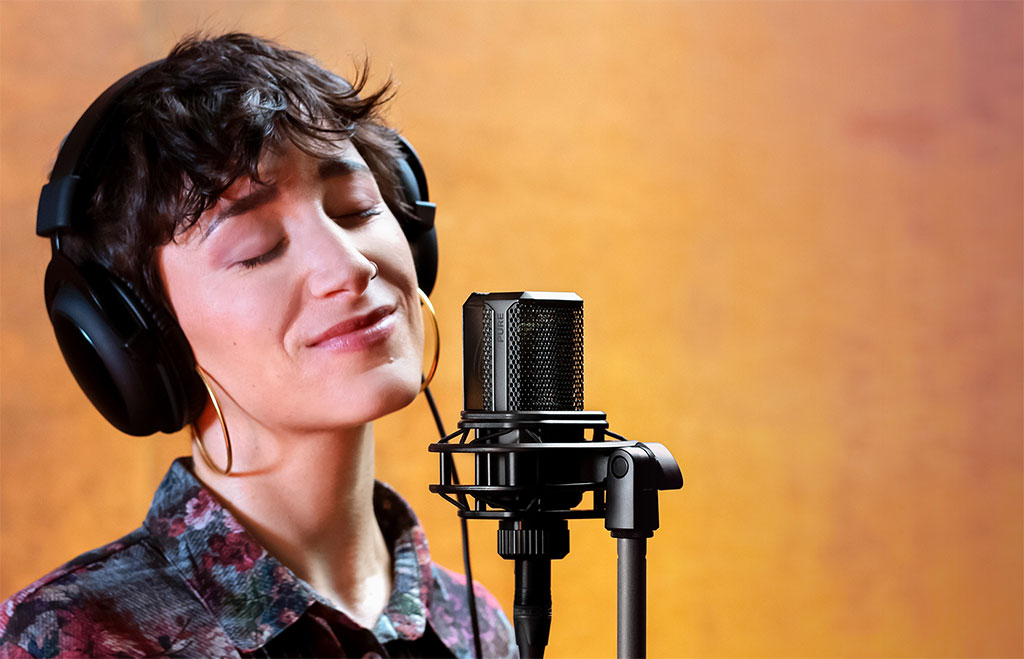
Do you want to record vocals at home? Are you unsure how to get started or how to achieve great results? Then you have come to the right place.
We are a company of audio experts, recording professionals, and engineers, and we can help you record outstanding vocals at home.
In this blog, you can learn the basics of vocal recording. After reading, you can start and get recordings you can be proud of.

Let's start with a fundamental truth. Never let the lack of the "right gear" hold you back. If you want to record something, and you only have a 5-year-old phone or laptop microphone, record anyway.
A great song and performance are more important than anything else.
But if you want your recordings to become professional, you need the right gear.
Basic vocal recording gear list
Ideally, you have these items when recording vocals
If you have a USB microphone at home, that can also work.
If you don't have a microphone stand or boom arm, you can try holding the microphone in your hand, but it is not recommended. Handling the microphone could produce unwanted noise in your recording.
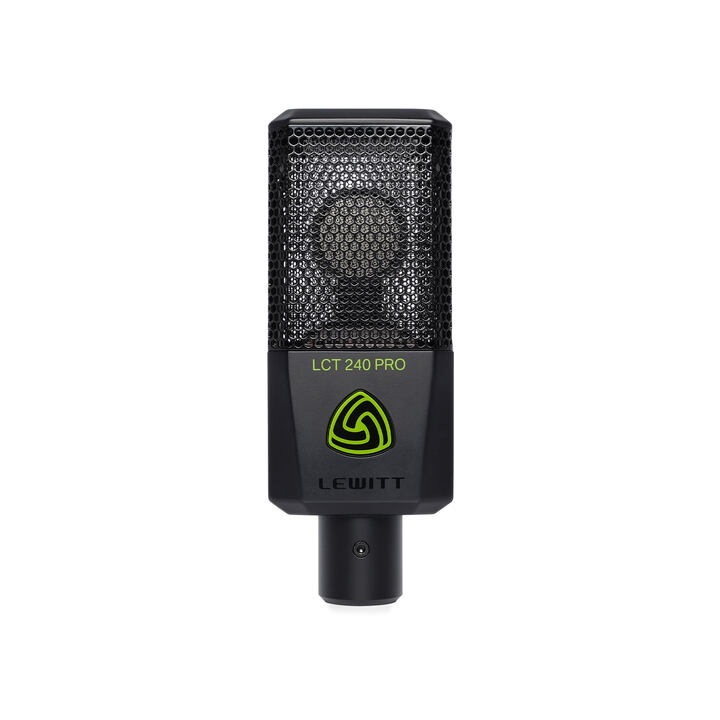
Here are products from our lineup that can give you outstanding results for vocal recording.
Now that you have the right gear, you want to record your vocals in a room with the fewest reflections.
A bathroom, a kitchen, or an empty room with lots of empty floor space and walls is the opposite of what you want.
A bedroom usually works great. You have your bed, maybe a carpet, a wardrobe, and some pillows to reduce echo and reflections.
Try recording in a room with soft furniture and surfaces, such as rugs, couches, or beds. Avoid rooms with only hard surfaces.
You can try clapping in the room and listening for an obvious slap-back echo. Try this in different rooms, and choose the one where you can hear the fewest reflections.
If you want to learn more about acoustic treatment, check out the blog "Acoustic treatment for recording and mixing".
Now, let's talk about microphone positioning.
Your microphone usually comes with a cardioid polar pattern. A cardioid microphone is most sensitive in the front and rejects the most noise coming from the back. You can use this to your advantage.
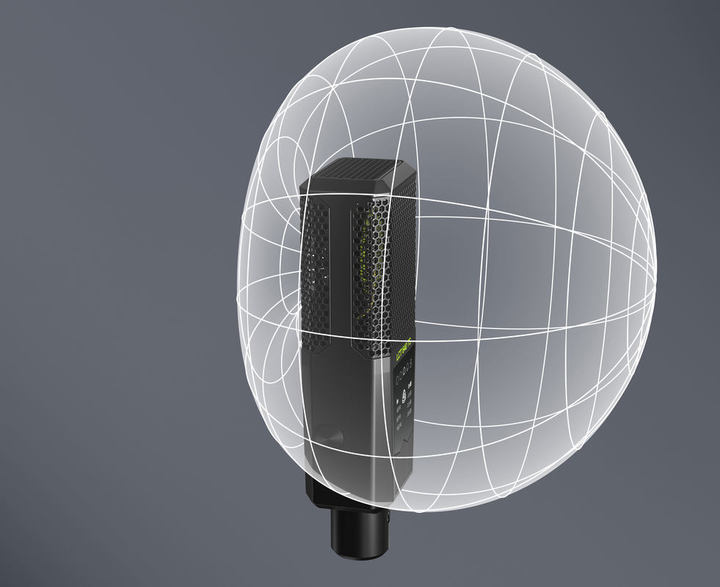
Point the back of the microphone to the noisiest part of the room. This is most likely your computer or laptop. Maybe it's the sound from outside coming through your window.
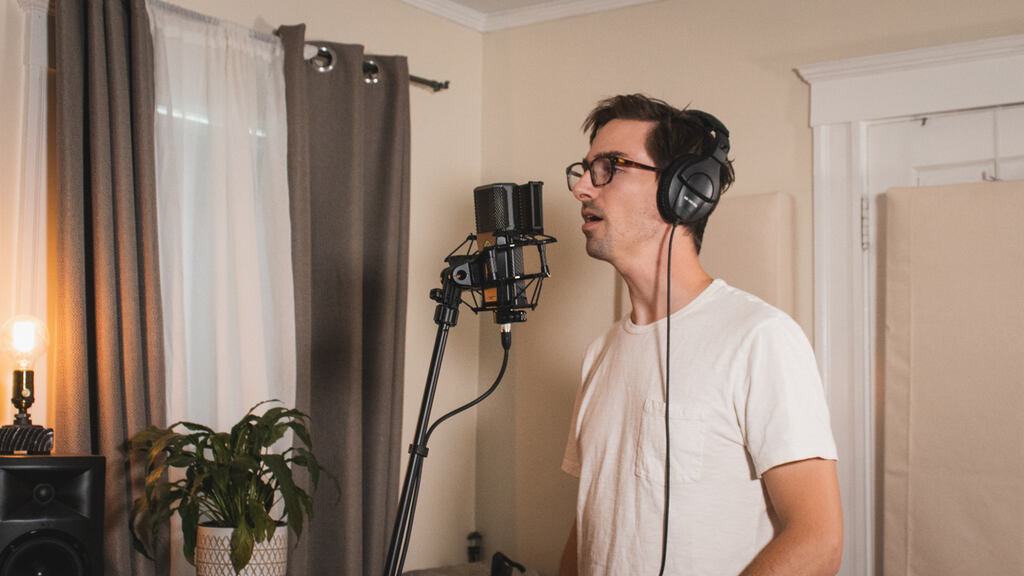
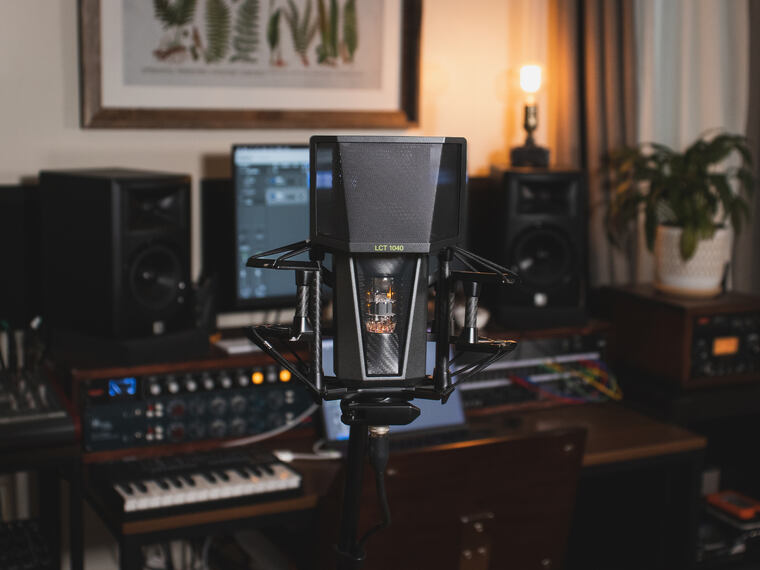
Use the microphone stand, and if you can, use a shock mount with your microphone. This helps reduce structure-born noise.
Use a pop filter to reduce plosives. You can also slightly tilt the microphone to reduce plosives and sibilance further.
Adjust the microphone height to your liking, and you are ready.
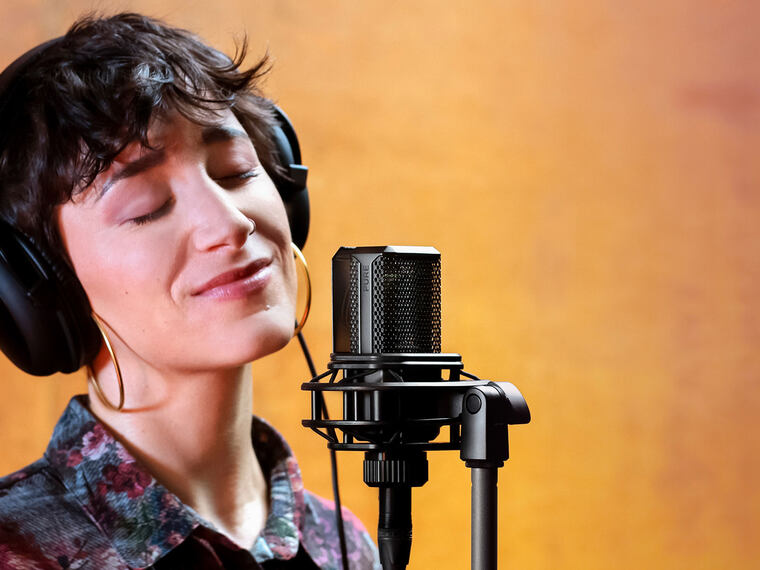
While performing, it is helpful to stay at the same distance from the microphone to ensure a consistent signal and volume. A good distance is about 5 to 8 inches / 12 to 30 cm / 2 hand spans.
If you want to perform and avoid staying glued to the same spot, we have just the right microphone for you.
RAY adjusts the level and tone of your recording according to your distance from the microphone. It's like autofocus for your voice. See and hear it in action on the product page!
For more tips and tricks about mic placement and vocal recordings, check out the blog "Top 10 tips for recording vocals in a home studio"
Connect your microphone to your audio interface via the XLR cable.
The next step is to dial in the right amount of gain. If your gain is too high, you might clip and ruin your recording. If it is too low, your recording becomes unnecessarily noisy.
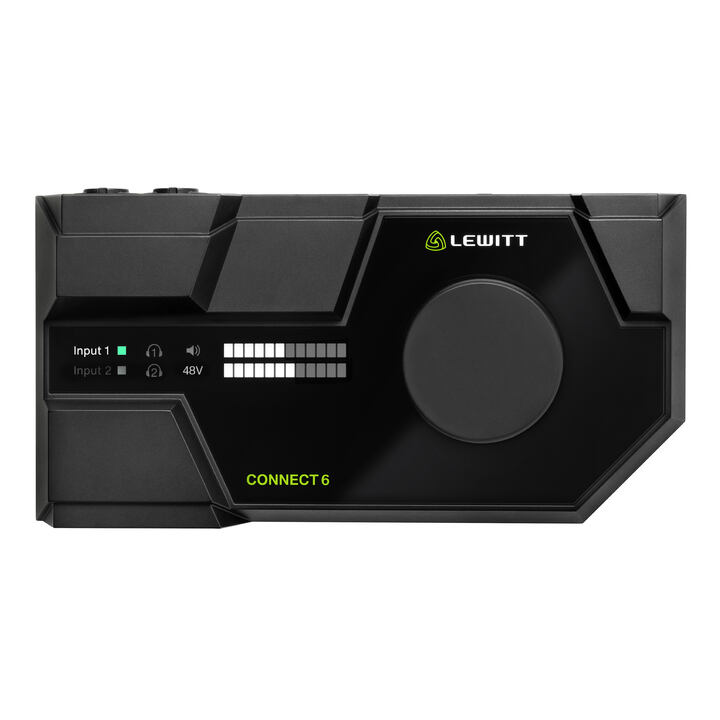
Modern audio interfaces have auto-gain functionality to easily dial in the perfect amount of gain. If your interface has that function, use it to avoid making errors.
If your audio interface doesn't have auto gain, follow these 3 steps:
You can learn more about gain staging here: "What is gain staging?"
Audio interfaces with Autogain
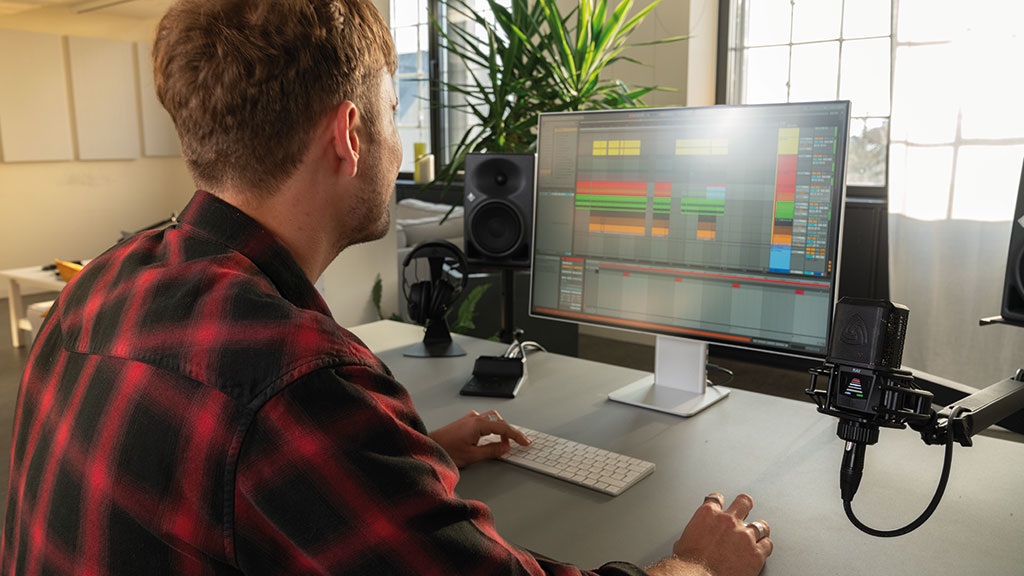
The next step is to set up tracks in your DAW. Add a new track, select the input of your audio interface, and you are good to go.
It is helpful to stay organized in your DAW from the beginning:
Do this from the beginning, and you will have an easier time later.
Staying organized in your DAW makes recording and mixing much easier
When it's time to record vocals, minimizing the latency of your audio interface is helpful. To minimize the latency, here are a few things you can do:
If you want to know more about latency, check out the blog "How to get low latency for your audio interface"
Now that everything is set up, it is finally time to record.
Before you start recording, make sure that your track is finished. It is much easier to capture an outstanding vocal performance if the track sounds as finished as possible.
Recording vocals to a skeleton track will not yield optimal results. It's much harder to hit every note right if you are recording to just an acoustic guitar.
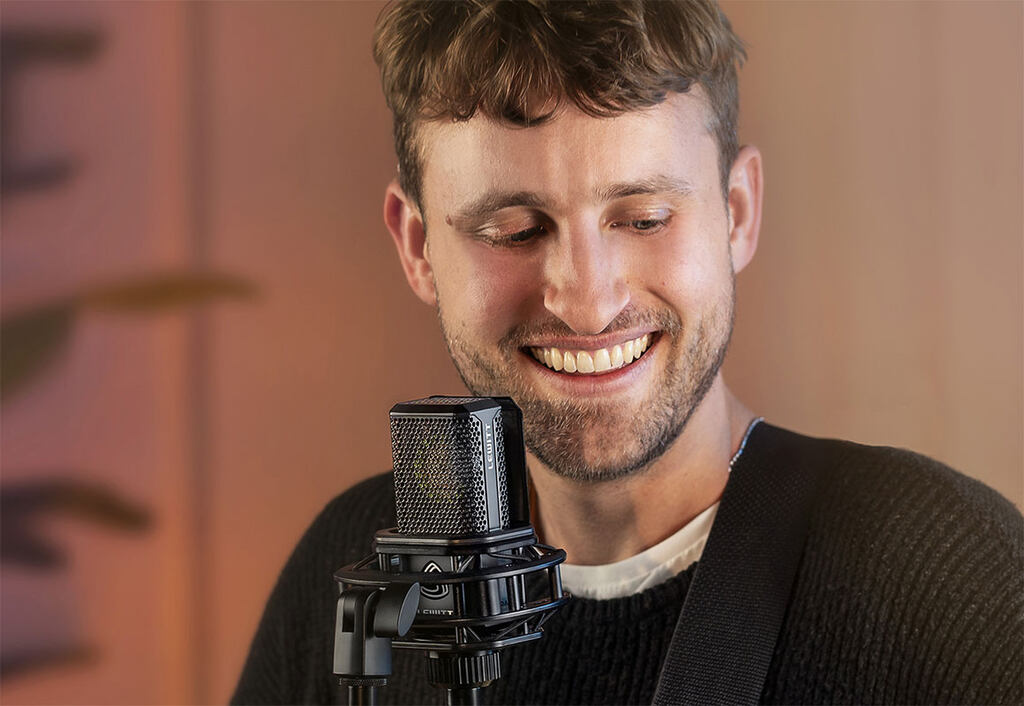
Do you know what is also essential to capturing an outstanding performance? When a relaxed singer is in the right mood.
Get rid of distractions and add things that create a nice vibe. Do everything so you and the singer are content and focused on getting a great recording.
A relaxed and happy performer will get the best results.
Staying hydrated is also very important. Have some water or tea ready. To spice things up, add a bit of honey.
Now, it is finally time to start recording. Here are a few general tips that could help you make better recordings. But it is essential that you find a way that makes the most sense for you and that you are happy with. All artists are different, and there is no right or wrong way to do it. Find something that works for you.
I hope that you have learned something from this blog and that your next recording session will sound fantastic!
If you want to know more about this topic or have any other questions, please reach out to us on social media or through email.
Make yourself heard.
Related stories
Best microphone for recording vocals
Are you looking for a vocal microphone but need help deciding which one to get? Let us help you out. We have produced microphones for over 10 years and sold…
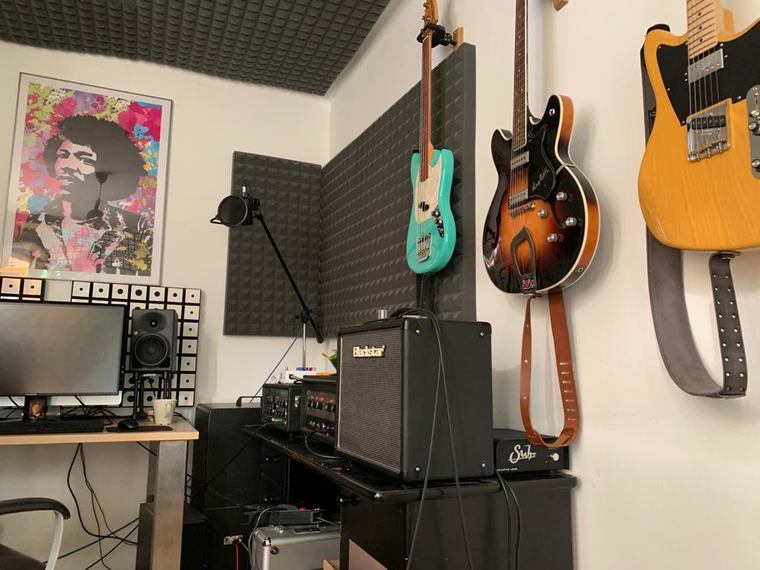
How to record your electric guitar at home
It’s time to take your guitar playing to the next level and record your music. We’re here to help.
Top 10 tips for recording vocals in a home studio
Vocals can make or break a song. Having a compelling vocal sound is critical to pulling in the listener and getting them to connect with your song. These are my…