
Blog
True love for great sound unites us.
Blog
True love for great sound unites us.
In this blog, I’m going to help you get the guitar sound you want in a live setting.
![Indoor Pets live at Metropolis Studios [Photo © Tom Rowland ]](https://d2pucgucjvdva3.cloudfront.net/sites/default/files/styles/max_650x650/public/news/2019-10/indoorpets_2560x1024_blog.jpg)
This article is written by FOH engineer Daniel Morris. You can learn more about him at the end of the blog.
For those in the know; controlling audio in a live setting is a different beast to controlling audio in the studio, but there are some similarities.
In this blog, I’m going to take you through the different considerations to get the guitar sound you need in a live setting, some of the differences in how you can approach mixing them, and some of the tips and tricks that I use.
The first thing you need to define is what you want to achieve.
I want live sound to be a larger-than-life experience, for everything to be slightly exaggerated, to be theatrical.
This is a freedom you have in live sound because you have a much larger dynamic range that you can acceptably play with.
This approach can detract from the “truth” of what is happening on stage on occasion, but I’ve found that most audiences are more than happy to accept the truth we, as engineers, choose to deliver, even if it borders on the ridiculous.
This doesn’t work for all acts, all engineers, or all shows, so deciding what you want and in which situation is vital.
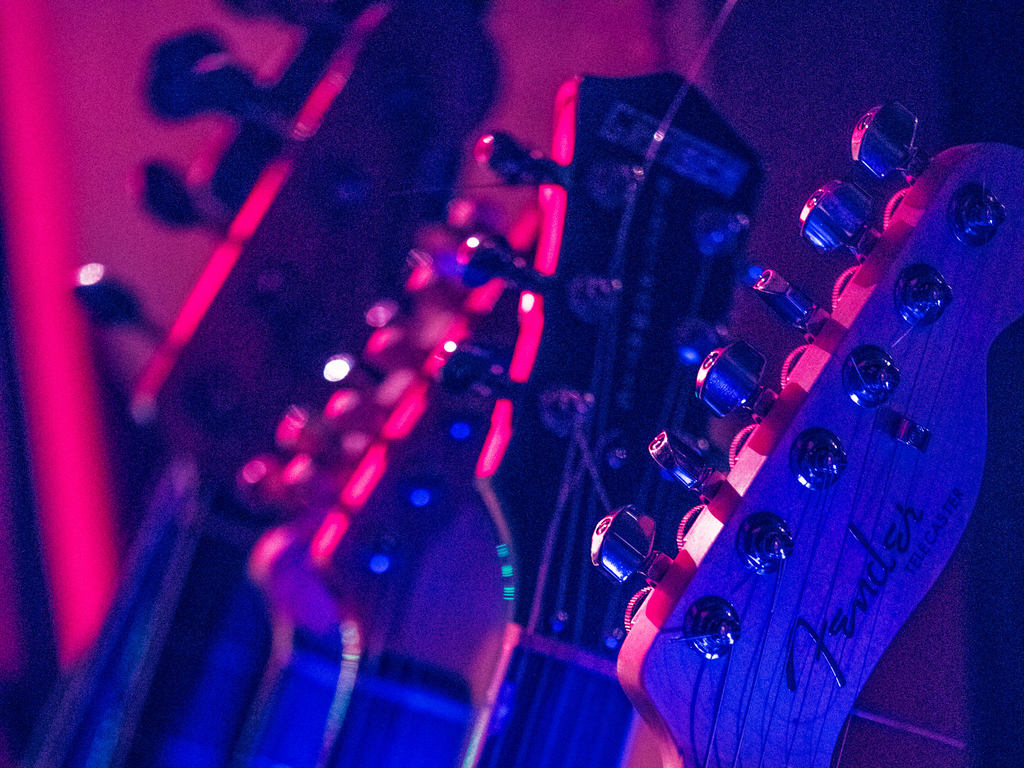
Every engineer is familiar with the concept that if the sound of something isn’t right at the source, it won’t be right at the end.
Electric guitar is no different, but because of the nature of guitar amplification, changing the sound of the source can become complex both from a technical perspective and a social one.
I’ll tackle the interpersonal issues first.
Asking a guitarist to alter a tone they are happy with without providing clear and (this is important) unpatronizing reasoning is going to be challenging. You have to earn their trust.
The reality of this situation is that most guitarists have only heard their tone directly from their amp. Best case, they are facing their amp towards their ear when they do this, but even then, they are only hearing the amp from 2-3 meters away, worst case; it’s firing at their knees.
I would always suggest bringing them to front of house (or at the very least into the audience area - as far as their lead/wireless will allow) and putting their guitar in the house. Do nothing to it and ask the guitarist's opinion.
The vast majority will be able to understand at this point why you are asking for the change in tone, will work with you, and start to trust you.
For those who have already built trust with their artist, this is still a worthwhile process, because it reaffirms their faith in you. But it also helps prevent you from taking things too far away from what the artist intended.
From a technical perspective, adjusting the tone of an amplifier isn’t always as straightforward as changing the EQ on the amp (or the pedal board if there is an EQ there).
A guitar amp and pedalboard combination are, at its base, a complex chain of varied gain structures, with the signal often going up and down vast amounts as it passes along its route to the speaker.
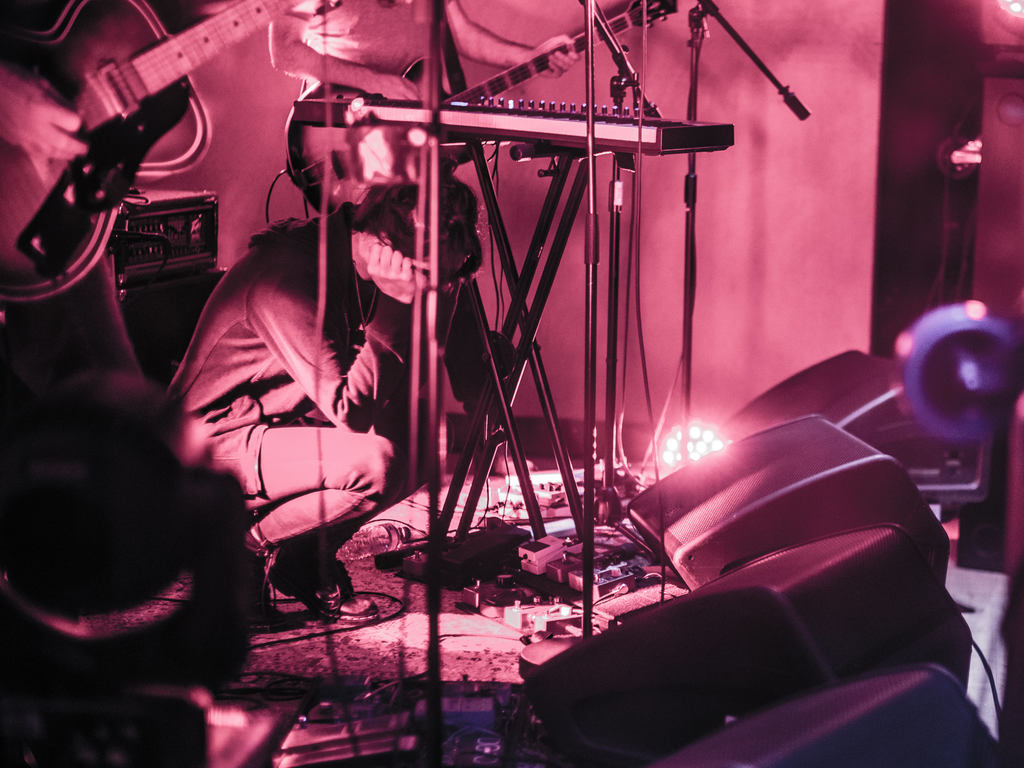
There’s no simple way around this, and adjusting things to get the desired tone for one sound can ruin another.
Bear this in mind when you and your guitarist are making adjustments, and remember to check all the various sounds they will be using as you go.
Great microphones to record guitar amps
For the smaller venues, the space you are in can have a massive effect on how you approach mixing the guitars, but every venue has its considerations.
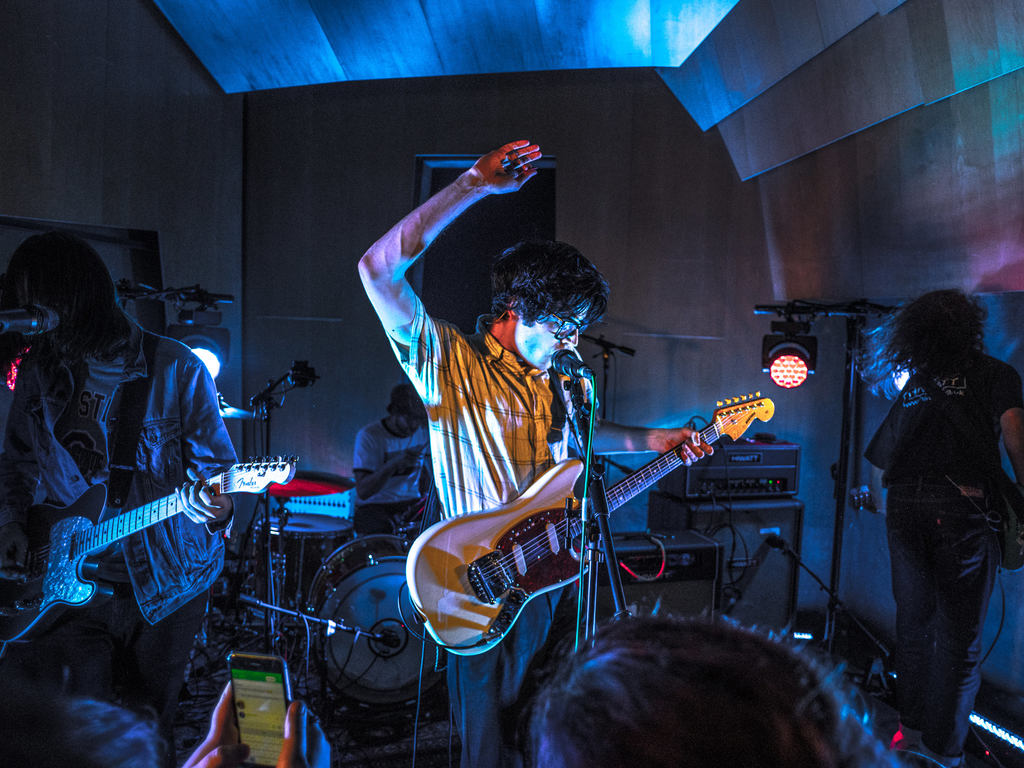
The first thing to think about is how much of the guitar sound your audience hears is coming directly from the stage and how much is coming from the PA.
Sometimes, the right thing to do is nothing.
If the guitarist’s amp sounds good, is filling the space well and their lead boost is getting them appropriately above the band when they need it, then don’t feel the need to do anymore (although I’d always put a microphone up for monitor requests and in case the audience end up absorbing more than you had accounted for).
In small to medium-sized venues, you’ll also want to consider the amps placement.
If the amp sounds right, try and get it at audience head height, so it doesn’t get lost in the bodies of the front row.
You’ll also need to take into consideration the volume of the amp. Turning an amp down can often affect the tone. So when an amp’s volume is too loud for the venue, I prefer to face the amp sideways, towards the wings, or backward (depending on the stage, making sure it’s not facing other microphones or reflective surfaces).
This will significantly reduce the perceived volume for the audience without affecting the tone of the amplifier. You’ll need to mic the amp in this situation for monitoring purposes.
From here, you need to think about what you are going to put in the PA and how.
For the amp that’s facing sideways or backward, you’ll need to put the top end back in, but a decent amount of the low-frequency content will continue to radiate from the amp, so you’ll need less of that in the PA.
Another common situation in smaller venues is an amp that sounds good at the microphone but isn’t entirely throwing the low-end thickness well enough to fill the place alone.
In this situation, rather than turning the amp down to be able to put the full sound in the PA, allow the amp to continue doing what it’s doing well and only add what’s missing to the PA. Don’t be afraid to get extreme with EQ. Having a band-passed signal at 120 Hz (high pass) and 380 Hz (low pass) is a favorite trick of mine in small venues.
Be careful of phase here.
If you have it available, I’d recommend delaying the microphone with the amp to bring the PA into alignment.
Where this isn’t possible, I’ll bring my low pass down a little more to leave a gap in the spectrum between what I am adding and what the amp is producing on its own to reduce the issues where the two cross over.
As the venue size increases, a lot of this will still apply.
Continue to be critical with what you need to add, be aggressive with EQ, and be considerate of alignment, but you’ll find that you’ll end up adding more of the presence of the guitar into the PA.
It’s also worth noting that when you have an excellent-sounding amplifier, it’s ok to turn things up at the amp!
Staying in the small and medium venues for a moment, I’d like to discuss compression.
When you are adding to the sound of the amplifier, keep in mind that if you use compression, you aren’t ever going to be compressing the whole signal, just what you are adding.
This does not mean that you shouldn’t use compression.
In the scenario where you are just adding low end and have a consistent player (particularly if it’s a rhythm guitar and you don’t need to account for lead boosts), compressing what you are adding helps to keep the tone thick without it getting muddy.
In the scenario where the amp is facing away, and you are putting the top end back in, compression can act as a dynamic EQ, keeping it out of the way of other elements in the mix and controlling the attack.
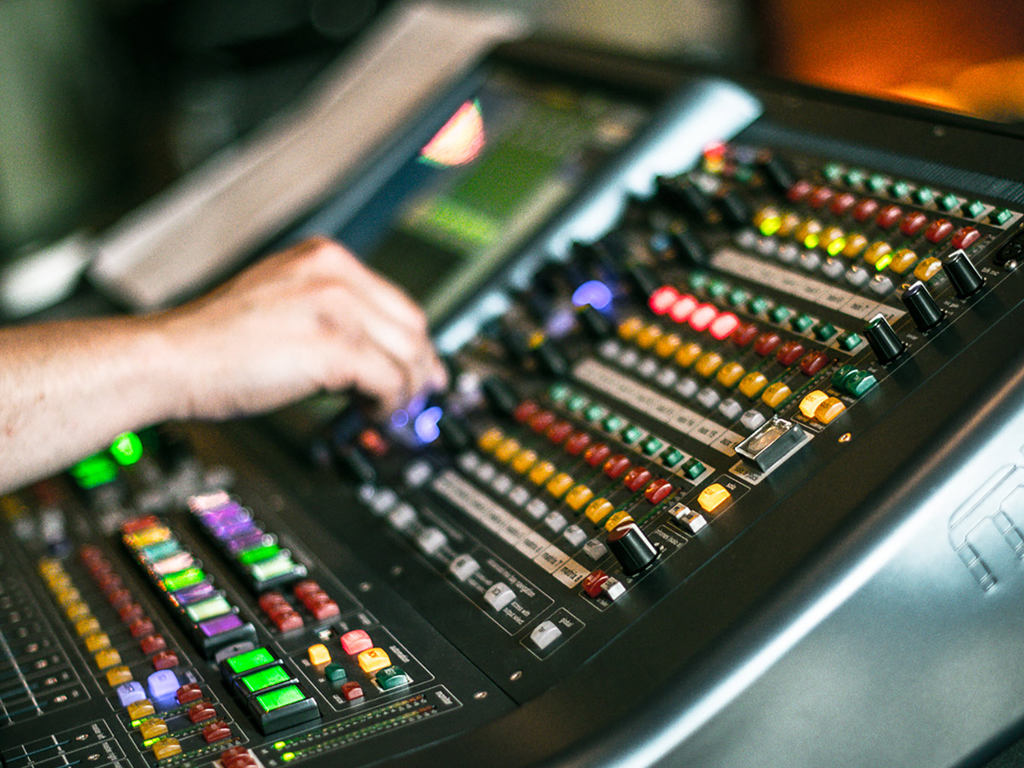
Moving on to larger venues, where the sound the audience hears from the amp directly is very low, you can start to focus more on delivering the sound of the guitar exactly how you want it.
However, while it seems closer to a studio situation, you will still have to concede exactly what you want to the nature of the venue on occasion.
The biggest problem you will encounter in large venues is a longer reverb time.
Hopefully, your systems engineer (who is someone you should always treat as a deity amongst mere mortals) has managed to tame this as best as physics can allow.
There are often restraints at their end, too, so you’ll need to compensate for this added reverb time in your mix.
With guitars, you will often find they sound too muddy, or end up making them too bright in search for intelligibility.
In venues like this (which can effectively be referred to as an echo chamber), compression is your best friend.
The simplest way to compensate for a long reverb time is to reduce your volume, but you’ll need to reduce your dynamic range before you do this, or the quiet bits will be too quiet.
I like to use multiband compression on a guitar group in these situations, after compressing each guitar individually.
Doing this helps to control the problematic regions that can make things sound muddy when a lot is going on.
Also, driving the lead guitar into the group has the effect of temporarily removing some of the presence of the other guitars to allow the lead line as much clarity as possible without becoming overly bright, and still preserve the overall thickness of the collective guitar sounds.
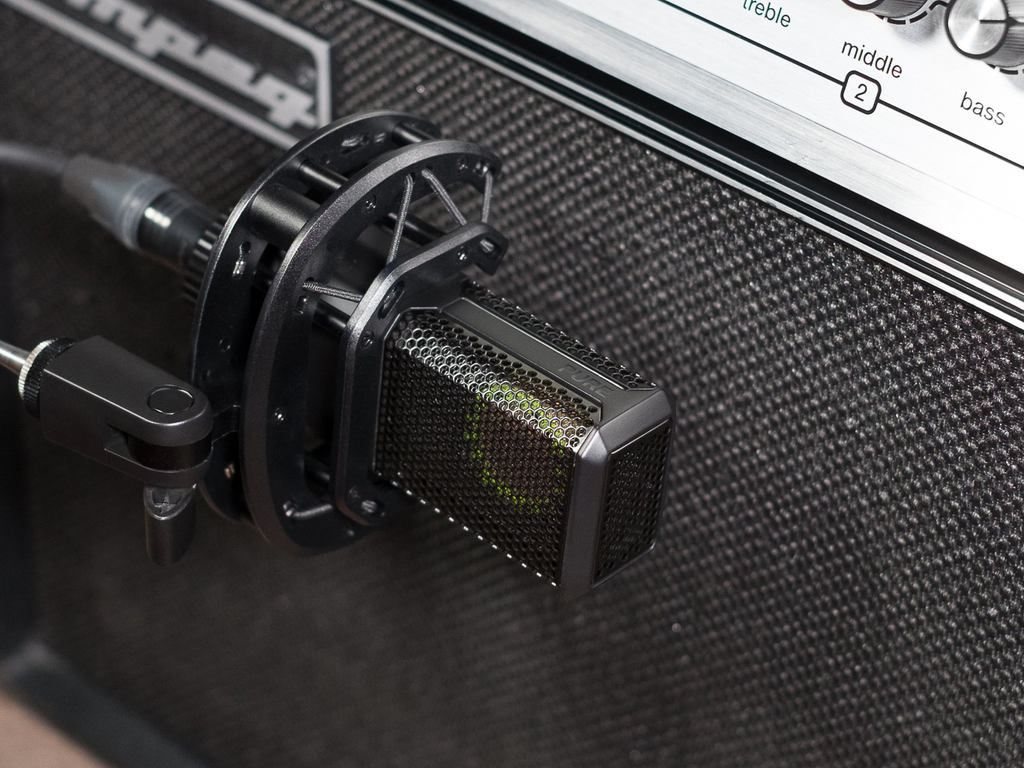
Microphone selection is essential throughout all genres and venues.
As I’ve mentioned before, priorities differ between the stage and studio, and this is very apparent when selecting microphones.
There are a few things to consider when choosing a guitar microphone for live music, and, as with all things related to the live arena, it’s about finding a balance.
The important things to me are:
The suitability of a microphone for its source and its interaction with other sources is mostly a matter of personal preference.
However, all of the things discussed in this blog should be considered when choosing a microphone.
Jumping back to small and medium venues, and what you need to add, should affect the microphone you choose. If you are adding just certain parts of the frequency spectrum, then you’ll only need to consider how your choice of microphone handles this task.
You’ll also need to consider the rest of the stage and what else the microphone will pick up.
The polar pattern is most critical, but adding several microphones with an unpleasant off-axis pickup to a loud stage can leave you with a combined effect that is going to cause you problems before you account for various sources arriving at multiple microphones at different times.
The importance of all of this increases as the stage size decreases and the distance from source to source is reduced.
This isn’t a huge problem for loud guitars unless you have many microphones on stage. I’ve had seven guitar microphones on a single stage, and their relative rejection became important.
Build quality is also more critical on stage than in a studio.
The microphones you choose will be moved around a lot at the very least and possibly kicked by careless musicians.
Whatever you choose will need to stand up to a decent amount of abuse because the last thing you want to worry about during a show is a fragile microphone that is about to stop working.
Next, you’ll need to assess how you’ll be using your microphones. In live music, it’s common practice to use two mics on a single guitar amp, and there are a few reasons to want to do this.
Using two microphones will allow you to have one microphone that represents the top end of your source well. The other will gather a good representation of the lower end, leaving you with a full frequency sound that can’t be delivered by a single microphone.
In this scenario, I’d usually use a condenser and a dynamic.
Another dual-microphone technique is to deliberately cause phase cancellation between the two microphones to remove parts of the frequency spectrum that are unwanted and can also be used to creative effect.
For this, I’d commonly use two dynamic microphones, although any combination of microphone types can be used.
The final reason I use dual microphones on a single cabinet is to add stereo width.
There is a sweet spot in terms of venue size when this works well, but becomes redundant at the extremes.
By panning one microphone left and one microphone right, you’ll end up with effectively two mono mixes that are slightly different, and these differences give you a sense of width for what is a mono instrument.
Aside from adding grandeur to a mix, it will also help keep things out of the way of the all-important vocal. A delay of between 5-15ms can exaggerate this effect.
I use dual microphones for a combination of these effects.
When using dual microphones, placement is critical.
When you are layering the two on top of each other, their distance from the cones needs to be considered to make sure you don’t end up with unwanted phase cancellation.
When you are using two microphones for width, microphone choice and placement are important to make sure the two signals are different enough to give you the effect you are after.
On top of all of this, there are a few extra things that I like to do with my guitars that go beyond what’s already been mentioned.
I like to use two microphones, and I use a pair of microphones configured for all three techniques discussed earlier in this blog across three guitar cabinets on the same stage.
In this setup, I have two guitarists, one who uses two amps via an ABY switch, with the secondary amp being used to add a layer of thickness for certain parts of the set.
For the guitarist with a single amplifier, I use a Shure SM57 and a LEWITT LCT 440 PURE and pan them hard to create the illusion of width. I also make sure these are precisely time-aligned, and my reason for this will become apparent in a moment. This is my lead guitar.
For the primary amp of the rhythm guitarist, I use a LEWITT DTP 640 REX (which is actually meant to be used as a kick drum microphone but sounds great on this guitar and guarantees phase alignment between the dynamic and condenser elements), and I run this straight down the middle.
For the secondary rhythm amp, I use a Shure SM57 and a Sennheiser e906. These are panned hard for a width effect.
I run all of these lines into two groups, one which has its panning inverted.
One of these groups is for parallel (or New York) compression and is compressed hard. The other group has a subtle multiband compression (which I mentioned earlier).
The effects that this generates is multi-layered.
For the lead guitar, I end up with one microphone (lightly compressed on its channel) on top of the other microphone, which is being compressed hard by the group, with the microphone's roles swapped on the other side of the stereo field. Because these microphones are phase-aligned, you get the benefits of having two microphones layered and the width effect by having subtly different signals in the left and right channels.
For the primary rhythm guitar amp, you get the layered effect of the two capsules (phase-aligned) and the benefit of parallel compression to add depth and thickness.
For the secondary rhythm guitar amp, you get the widened effect and the phase cancellation effect (because the microphones are not aligned and with the inverse panning in the groups end up layered on top of each other).
I use this to cancel some of the amplifiers shine, to prevent too much build-up in this region, but preserving it at the amplifier for monitoring purposes. The canceling effect is also exaggerated differently in the left and right channels, which gives this guitar a wider feel than the lead guitar, which helps add impact when it comes on, without needing to add too much volume.
Having the two groups also allows me to drive channels into the compressors, when a more compressed sound is called for, or to adjust the balance between the hard compressed or multiband compressed groups to suit each song or section.
When I started this blog, I set myself the question, "What’s the best way to mix electric guitars live?” and I feel I have completely failed to answer it.
But that is precisely the point. There is no one single right way, and it’s a good thing that the question can’t be answered because it forces people to be innovative.
This blog describes the way I approach things, but I’d not for a second suggest that doing things another way is wrong.
The vast majority of what I’ve written about here are things that I’ve picked up from other engineers, which I’ve developed or adjusted to suit my applications, and I’m still picking up new ideas and techniques.
Those who’ve shared knowledge with me throughout my career, I am eternally grateful.
Keep experimenting, keep learning, keep teaching.
Morris, as he is known to everyone except his parents and his bank, has been working as a touring Front-of-House Engineer for six years, making loud things louder for various artists – right now, he’s touring with Indoor Pets.
Hailing from planet earth, he works on the ethos that if anyone is ever aware of his existence during a show, it’s because he’s doing something wrong.
He’s recently overcome his Imposter Syndrome just long enough to write a blog.