
Blog
True love for great sound unites us.
Blog
True love for great sound unites us.
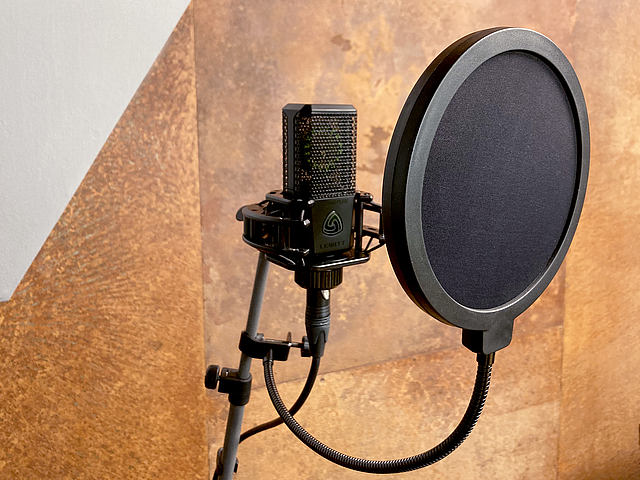
You've probably heard or read online that you need a microphone shock mount and a pop filter when recording vocals.
Here you will quickly learn why you need these accessories.
Also check out our video about which pop filter works best.
The first reason you need a microphone shock mount is a very simple one. It allows you to mount your microphone onto a mic stand or a boom arm. Microphone clips and microphone mounts can do this job as well.
A microphone shock mount can be mounted onto a mic stand or a boom arm.
After you mounted the shock mount onto the mic stand, you place the microphone inside the shock mount, fasten the mic, and that’s it. The shock mount is built in such a way that the microphone is protected from contact using suspensions.
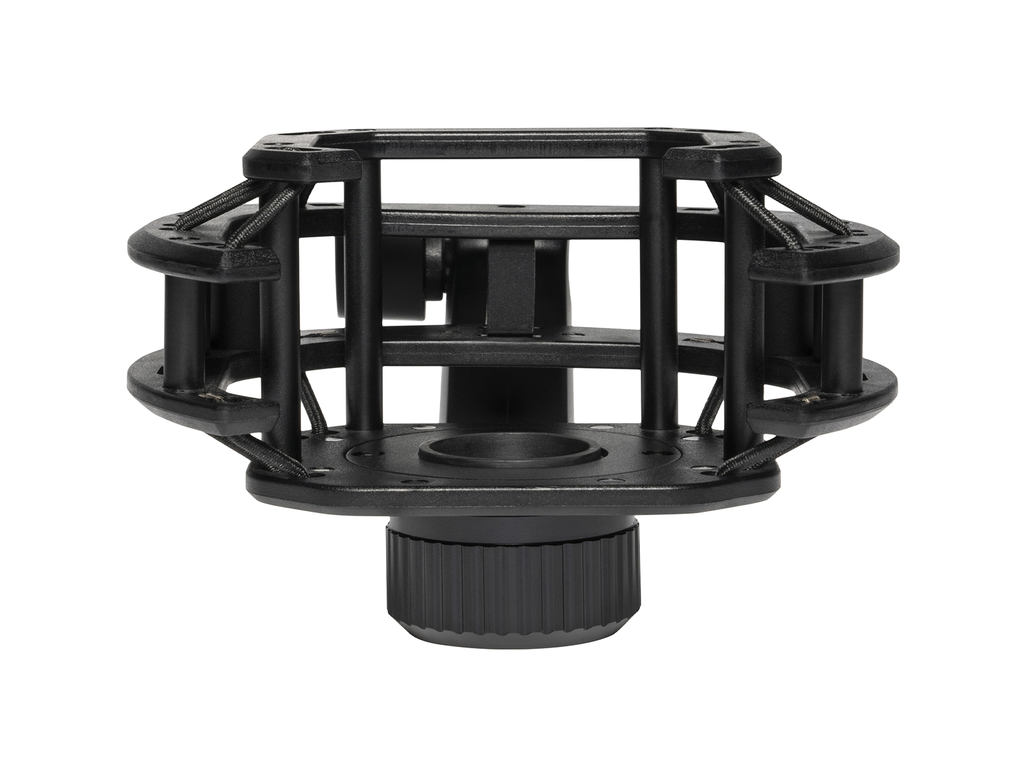
A microphone shock mount helps to avoid ruining a good recording.
Any contact with the microphone creates a low-frequency rumble, also called structure-borne noise. Structure-borne noise can be caused by wind, a moving cable, by stomping on the floor, a passing truck, etc.
We certainly don’t want that on our recording.
Quick tip: Using a low-cut filter can remove the rumble from your recording.
Using a shock mount is always recommended. There is nothing worse than ruining your magic take and it is always better to play it safe. Especially when your microphone is placed on a table and when you move a lot in the area of your microphone, a shock mount is important to have.
It is not a problem not using a shock mount if it gets in the way. When you want to position your microphone a certain way and it is easier without the shock mount, do it and be careful.
Think of the shock mount mainly as a safety net that you might not always need.
Our best-selling microphones that come with a shock mount and a pop filter
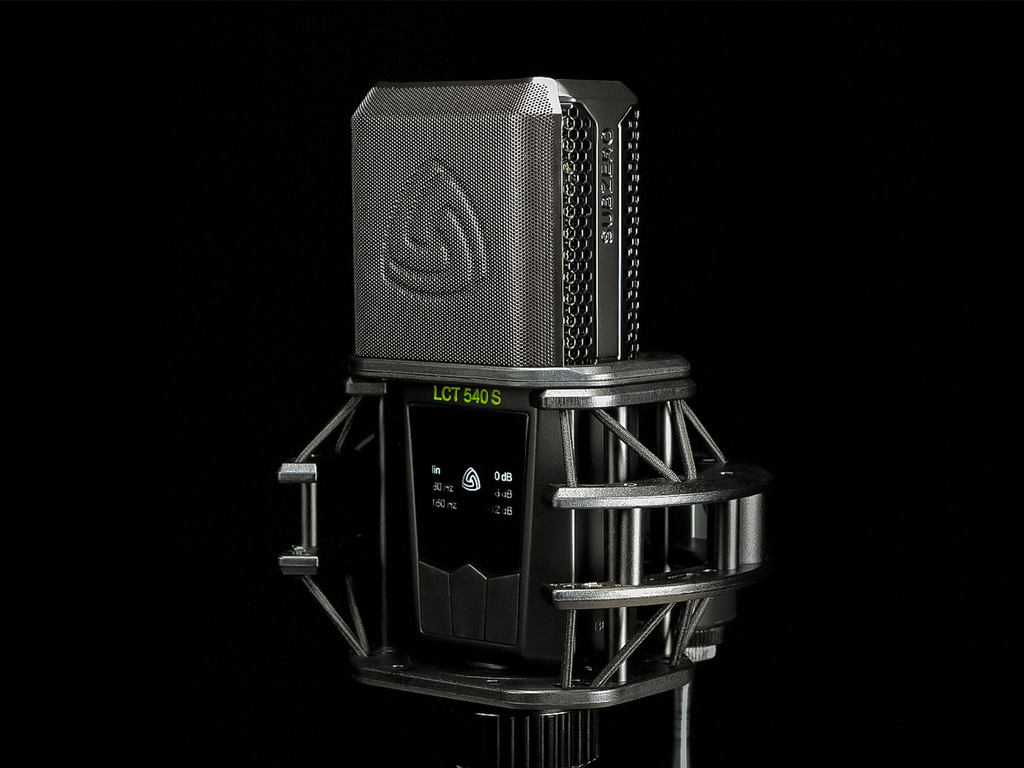
Usually the shock mounts are designed to work best with a particular model or series. That is why it is recommended to get the microphone shock mount that was designed for your studio microphone. Even if there are some shock mounts that can hold models from different manufacturers, they might not work efficiently.
Each available shock mount was designed for a specific microphone model and its particular mass.
Hold your hand in front of your mouth and pronounce “Peter Pan”. You will notice that P-s produce a burst of air. These sounds are called plosives and will sound very disturbing on your recording.
To reduce plosives (P-s, T-s, and K-s) when recording vocals, podcasts, voiceover, streaming, etc., you can and should use a pop filter.
If you have been using a microphone already and recorded your voice, you probably experienced that some letters create unpleasant sounds when pronounced. P-s and S-s are two candidates. They almost sound like a kick drum.
If the wind created by these plosives hits the membrane it can lead to 1) unpleasant low frequency artifacts in your recording and/or 2) distortion in your audio interface. A microphone pop filter can protect your microphone from plosives and ensure a clean recording.
Don’t worry. You can’t break your microphone. Plosives sound unpleasant and it takes a lot of time and effort to remove those from your recording in post-production. There is another reason why it makes sense to use a pop filter or pop screen. It protects the capsule of your microphone from moisture. Exposing the capsule and the very thin membrane to moisture can lead to a decrease in sensitivity and in the worst case to making the microphone stop working.
A pop filter not only helps to avoid plosives on your recording but also protects the condenser capsule from being exposed to moisture.
If you want to record vocals, one crucial thing is microphone discipline. Trained vocalists are skillfully controlling their distance to the microphone to achieve outstanding recordings. Of course, that depends on style and genre. But now you probably are thinking about a soulful singer with one hand on the headphones while singing expressively using the other hand to indicate the pitch. That’s kinda what we were going for.
For most of the vocal, voiceover, and podcast recordings, we try to keep the same distance to the microphone.
A pop filter can be very helpful to keep the overall same distance to the microphone during recording.
A rule of thumb is to keep about 15 cm distance to the microphone.
First of all, there are different types of pop screens or pop filters. And, spoiler alert: yes, you can.
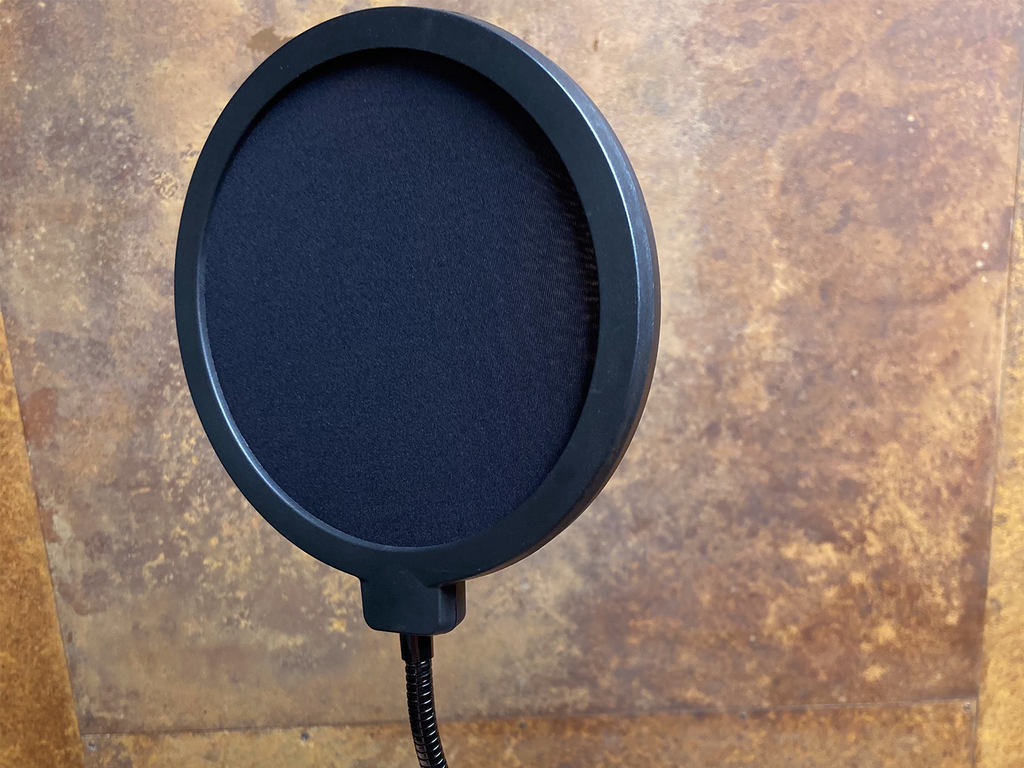
Nylon screen
This is the classic pop filter gooseneck with a nylon screen. You can find it in countless studios around the world.
Pros: Distance can be easily defined, efficient.
Cons: Covers a lot of the user’s face.
Custom solutions
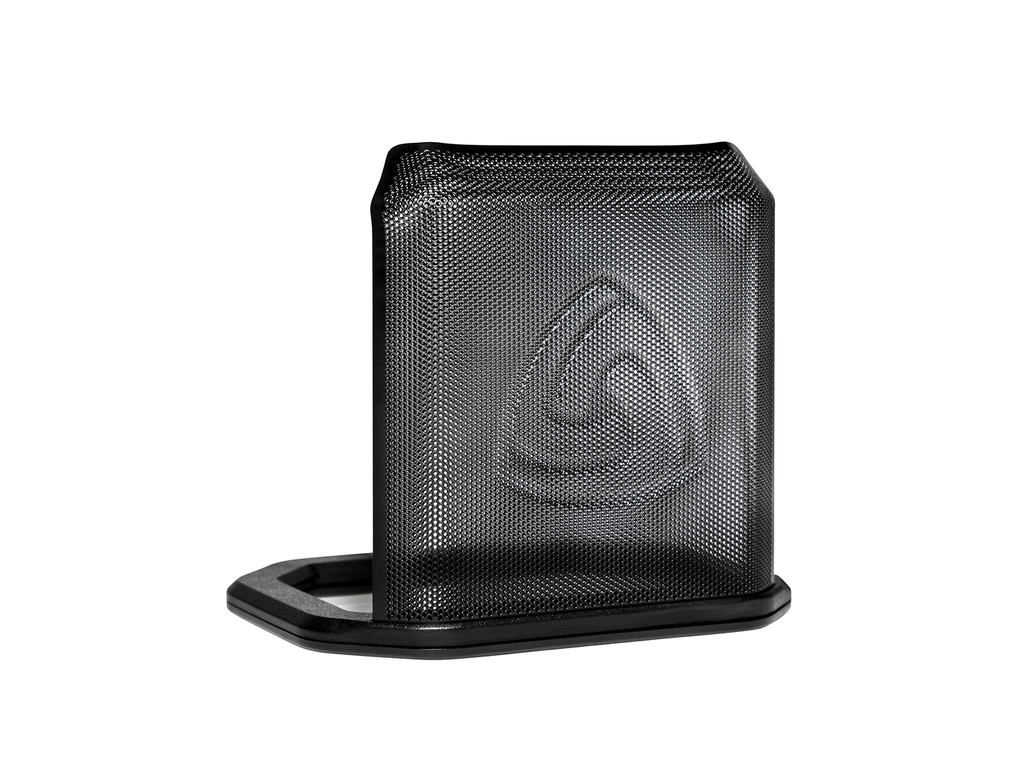
Some microphone manufacturers provide custom solutions for their microphones. They are mostly metal mesh constructions that harmonize with the shock mount.
Pros: Long lasting, integrates perfectly with the design of the microphone
Cons: Fixed distance
 Integrated pop filter
Handheld stage microphones always feature an integrated pop filter. Inside the cup of the microphone you’ll find a foam that protects the capsule from wind in combination with the metal mesh also from plosives.
Many consumer-grade microphones or microphones with a USB connector that are designed for streaming or podcasts have an integrated pop filter to help to reduce plosives.
Pros: Easy to handle
Cons: Fixed distance
DIY solutions
Every starving but motivated musician probably constructed a pop filter using a nylon sock and a coat hanger or has put a knee sock over the microphone. These DIY solutions probably saved more recordings from sounding bad than doing harm to the clarity of the recording. If looks don’t matter to you at all, we say go for it.
Pros: No costs
Cons: -
If you want to learn even more about microphones, check out other interesting topics on the microphone basics page!